Thursday, February 28, 2013

Sweetheart Crackers


I made these cute little crackers for my husband for Valentine's Day, since he doesn't like me to get him sweets. We took them to a dinner party were they were a big hit among our friends. We didn't bring a single one home. This is the second year I've made them, first trying them out with the kids I watch. It's such a fun and easy kid craft. They love rolling the dough and cutting out shapes, then, of course, eating them.

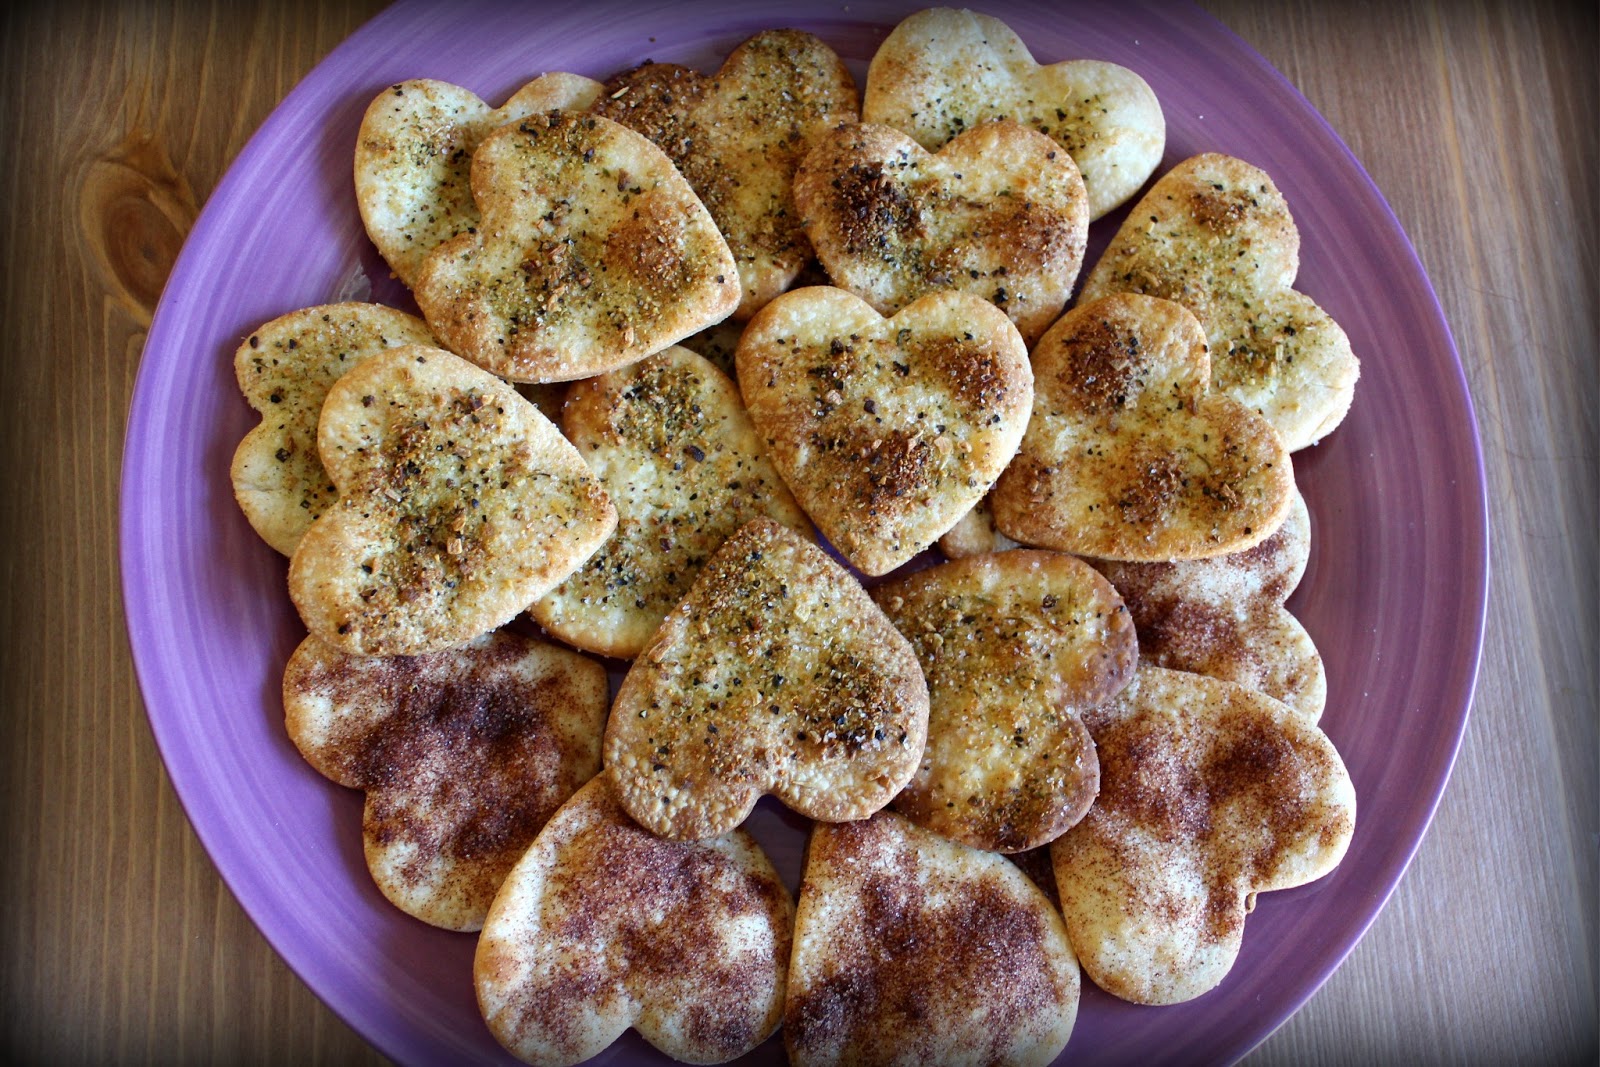
I first got this idea from Pillsbury, although I came up with my own seasoning and used a cultured pie crust from Whole Foods with no hydrogenated oils. Also, the idea on the Pillsbury website doesn't give very detailed instructions, so I have my own. You will need your own cookie cutters. I used a heart shaped cookie cutter for Valentine's Day but any will do. It's the only cookie cutter I have besides a ginger bread man! I am not much of a baker.

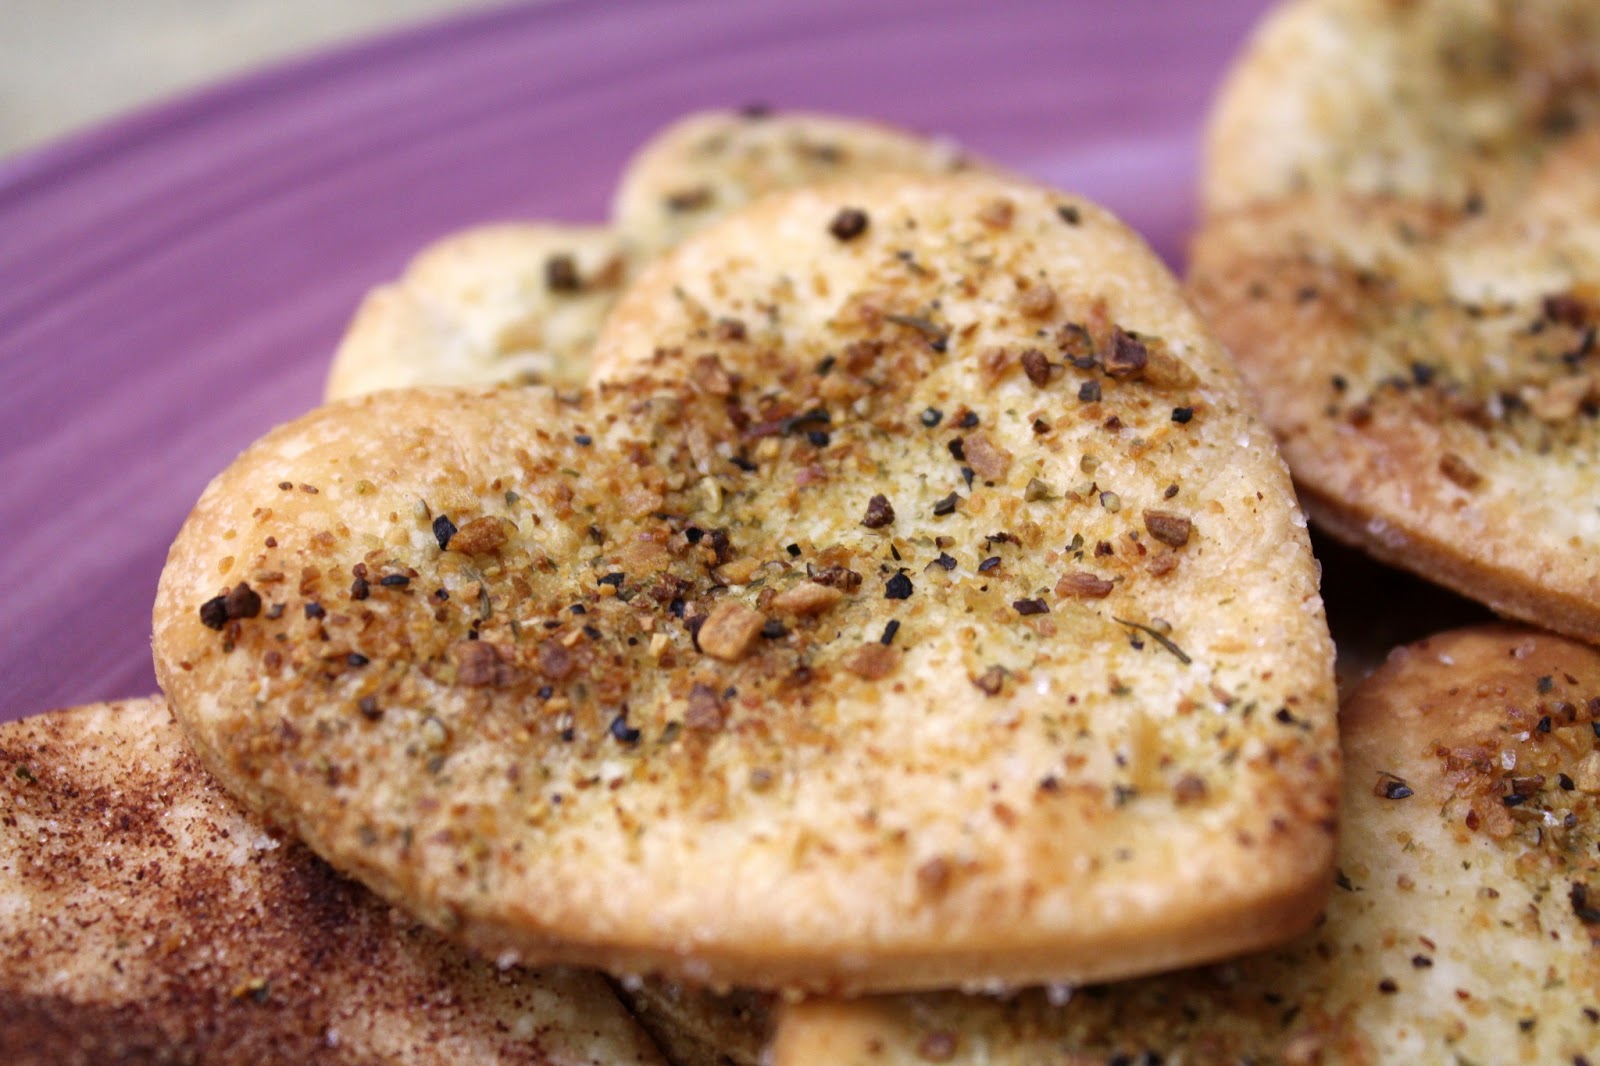
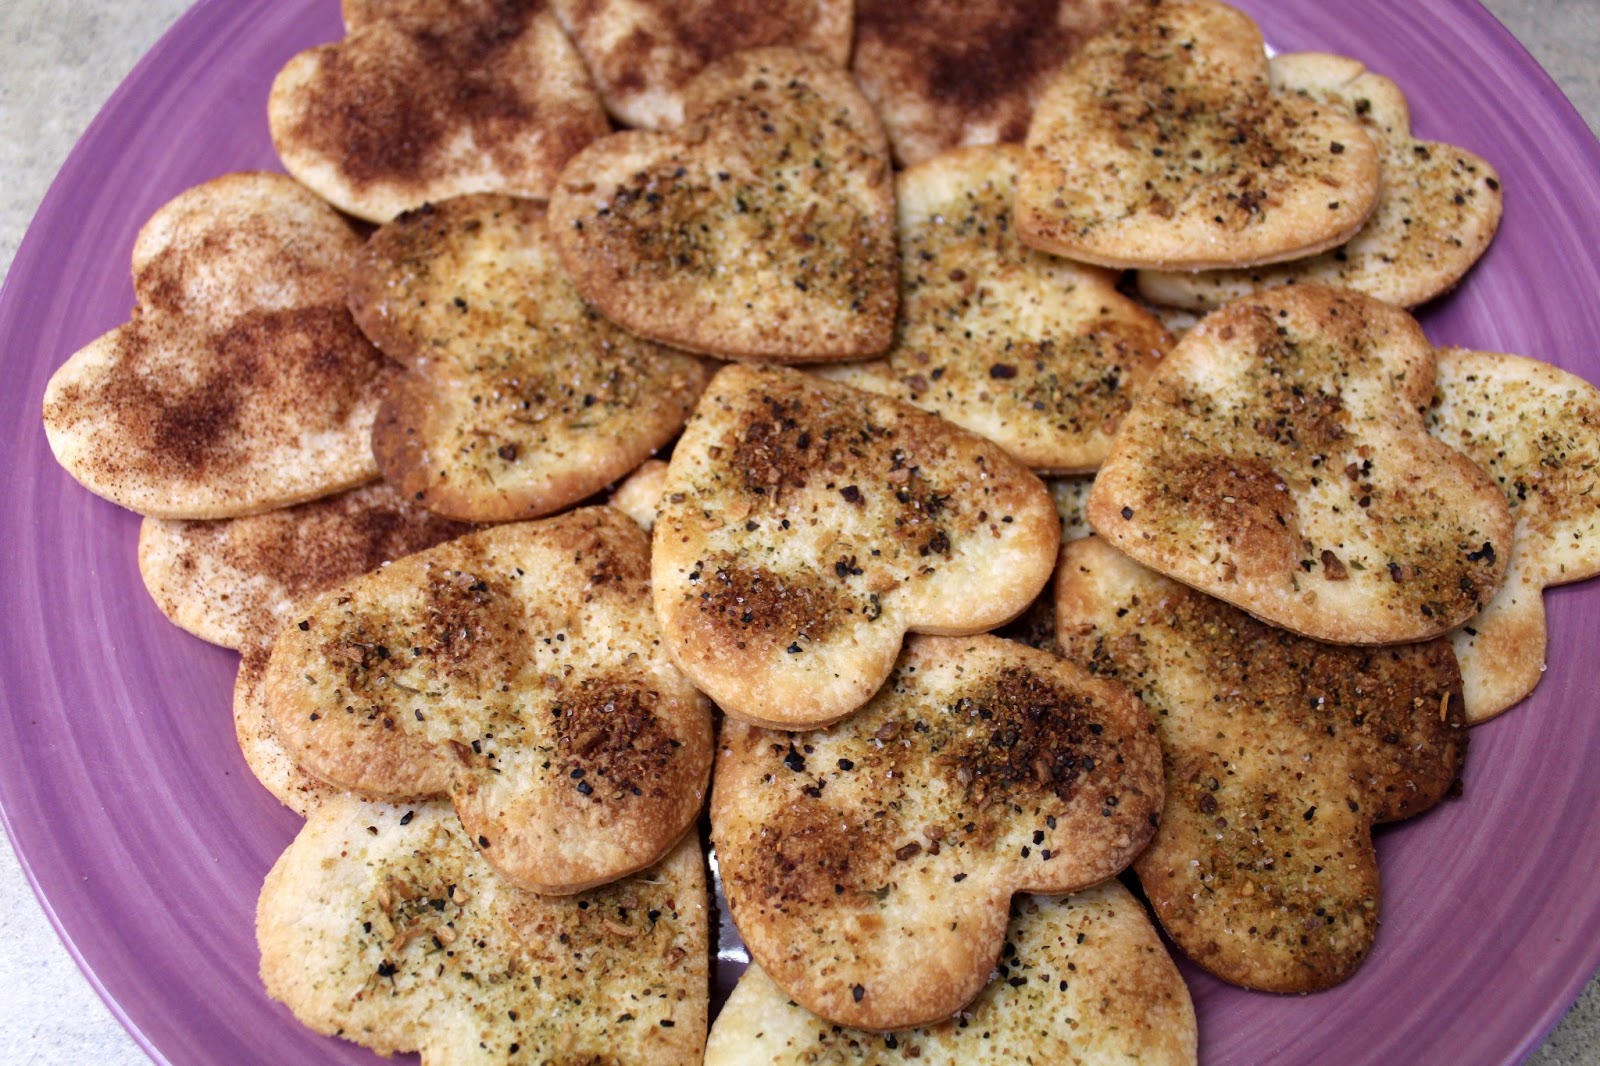
I made half cinnamon sugar and half herb seasoned crackers. Both are equally delicious. Favorites depend on who's eating. It's a perfect treat for the kids and the Valentine who doesn't eat sweets!

Ingredients:

2 refrigerated pie crusts, set out for 15 minutes
Vegetable oil
2 tablespoons white sugar
1 tablespoon ground cinnamon
Mrs. Dash's Garlic and Herb Seasoning
Sea Salt
Flour for dusting

Directions:

1. Preheat the oven to 400 degrees Fahrenheit. Combine sugar and cinnamon mixture in a small dish.


2. Line two baking sheets with parchment paper. If you don't have parchment paper, make sure you spray on the cooking oil. Unroll pie crust onto a cutting board and roll over with a rolling pin to flatten and thin.


3. Cut as many shapes as you can into the rolled out crust, then lift the excess pie dough and set aside. Carefully lift the pie dough shapes and lie them on the parchment paper lined cookie sheet in three rows of four, or however many you can fit. Repeat with the second pie crust then set excess dough aside. If you run out of space on the cookie sheets, just cut a large square of parchment paper and place the dough shapes on the paper to wait for an available pan.

4. Combine and roll out the excess dough (dusting with flour if it becomes sticky) onto the cutting board and cut more shapes. Repeat until the amount of dough is too small to make a shape.

5. Brush pie dough shapes very lightly with vegetable oil. Sprinkle one tray of shapes with the cinnamon-sugar mixture. Sprinkle the other tray of shapes with the garlic and herb mixture followed by a little sea salt.


6. Bake for six minutes, until crackers are lightly browned. Don't leave them in for too long! They will burn very quickly. Let them cool for a few minutes, then set the crackers on a platter to enjoy. You can also arrange them in some cellophane and ribbons for a little gift.


30 Minute Tomato and Kale Pasta for Two


I love this dish not only because it uses all my favorite super fresh vegetables, but because it is so easy! You just throw all the ingredients into a dish and put it in the oven. It's absolutely delicious comfort food.

I used a cute curly pasta to go with my dish, but you can use whatever you have on hand. This is better for the summer when all the ingredients can be at their freshest. Sprinkle with Parma before serving! If you can find it, it's a parmesan cheese imitation topping made from sea salt, walnuts, and nutritional yeast.

Ingredients:

2 cups uncooked pasta
1 package whole cherry tomatoes
1 teaspoon minced garlic
2 large kale leaves, stems removed and leaves shredded
1/4 cup yellow onion, chopped
2 tablespoons extra virgin olive oil
1/2 teaspoon sea salt
1/4 teaspoon black pepper
1/4 teaspoon dried oregano
1/4 teaspoon dried basil

Directions:

1. Preheat the oven to 400 degrees Fahrenheit  Add whole cherry tomatoes, garlic, kale, and onion into a small glass casserole dish and toss. I used a loaf dish.

2. Drizzle olive oil on top, toss to coat. Add salt, pepper, oregano, and basil and stir to coat evenly.

3. Bake in the oven for 25 minutes. While the sauce is cooking, start your pasta according to the directions so that it's hot, fresh, and ready as soon as the tomato and kale sauce is done. I hope it becomes your go-to comfort food!


Easy Dairy Free Hot Chocolate


I can't think of anything much better than hot chocolate on a cold winter day, especially a snow day! We were recently in Pittsburgh, PA visiting our family, and while we there a ton of snow came down. There's even more there now! I don't willingly go out in the snow now, but when I was little there wasn't a better treat than going sled riding or making a snowman with my brothers and coming back inside to my mom's stovetop hot chocolate. I skipped the stove and just used the microwave, but if you have a whole family of soy milk drinkers, the stovetop method is for you.

The trick to imitating the best dairy based hot chocolate is using the right milk. Silk's Very Vanilla Soymilk is the perfect alternative. It makes a thick and creamy hot chocolate that tastes just as good, if not better, than the real thing. If you try to make this recipe with regular soy milk, you won't get a great result unless you add thickeners, sweeteners, and flavors. So just buy the Silk Very Vanilla if you can drink it. Everything is already added to make it thick and delicious. I'd love to try some other milks and see what the result is, though this recipe is perfect.

An amazing thing about cocoa powder is that it's natural, pure, soft as a whisper ground cocoa. No dairy, sugar, or anything added. It's completely vegan. The only difference between hot cocoa mix and cocoa powder is the milk powder and sugar. Add sweetener to the cocoa powder and you have an instant dairy free hot cocoa mix.

Ingredients:

1 cup Silk Very Vanilla Soymilk
2 teaspoons cocoa powder
1/8 teaspoon vanilla extract
2 teaspoons of Truvia (two packets), or your preferred sweetener to taste


Directions:

1. Heat the soy milk in the microwave for 1 minute and 30 seconds. Stir in cocoa powder immediately after heating. If you'd like it hotter, microwave in 15 second intervals until desired temperature.


2. Stir in vanilla and your choice of sweetener to taste. Add mini marshmallows to the top instead of whipped cream. Marshmallows are always dairy free!