Monday, April 29, 2013

Dairy Free Spinach Artichoke Dip


Cheesy, gooey, hot spinach and artichoke dip with a little kick. It's okay lactose intolerant person, this is for you. This recipe is made fresh and flavorful to taste better than your average restaurant style artichoke dip. I served it to a group of cheese-loving, dairy-eating ladies and they ate it all up! It's a lot healthier than an average dish of the dairy version of this dip, as the soy cream cheese and dairy free shreds are low in saturated fat and cholesterol free. I even used light mayonaise to make it healthier.

Just know, real mayonaise is completely dairy free. I try to point this out as much as I can, because I've noticed a general misconception that mayo is associated with dairy. Either people associate eggs as being dairy, or just mayo as being made with cows milk, but real mayonaise is made only with eggs--no cow products at all. The Best Foods mayonaise I used contains the ingredients: soybean oil, water, whole eggs, vinegar, salt, sugar, and lemon juice. No lactose whatsoever. It's an important ingredient in most artichoke dip recipes.

The other dairy free ingredients I used were Trader Joe's This is Not a Tub of Cream Cheese, This is a Tub of Non-Dairy Spread, though I also recommend using either Tofutti Cream Cheese and/or Tofutti Sour Cream. I used Daiya Mozzarella Style Shreds to substitute real cheese, but I recommend Trader Joe's Soy Mozzarella as well. For the second cheese ingredient, I used real Parmigiano Reggiano, which is said to be completely lactose free due to the process it is made and aged. To keep this dish dairy free, use Galaxy Foods Vegan Grated Parmesan or Parma! instead. Last but not least, in every recipe that calls for butter, I replace it with Smart Balance Light Buttery Spread, which is completely dairy free, yet still tastes amazingly like real butter.

Cooking all these non-dairy ingredients together really brings out their dairy flavor. Eating them all separately and cold makes you never want to buy them again-so don't do it! Combine them by cooking with other ingredients and spices to get the same level of comfort food satisfaction. I absolutely love this spinach artichoke dip.

Ingredients:

1 large bag fresh baby spinach
2 cans artichoke hearts, chopped
1 medium size yellow onion, chopped
2 tablespoons minced garlic
1 teaspoon red pepper flakes
2 6oz containers This is Not a Tub of Cream Cheese
1 cup real mayonaise
2/3 cup plus 1/4 cup grated parmigiano reggiano or Vegan Grated Parmesan
3/4 cup plus 1/4 cup Daiya Mozarella style shreds
3 tablespoons Smart Balance Light Buttery Spread
1/2 teaspoon sea salt
1/2 teaspoon black pepper

Directions:

1. Chop up your onion, artichokes, and garlic. Melt the Smart Balance Light Buttery Spread in a large saucepan over medium heat. 


2. Once melted, toss in the onions and cook until translucent, about five minutes. Throw in the minced garlic and cook for 30 seconds with the buttery onions. 


3. Add red pepper flakes, sea salt, and black pepper to the pan, immediately followed by all of the spinach. Spinach takes up a ton of space when first added, so it will be easier to add it to the pan in portions. It will cook down quickly. Cook spinach in butter, onion, and garlic mixture for 2-3 minutes once all added. 

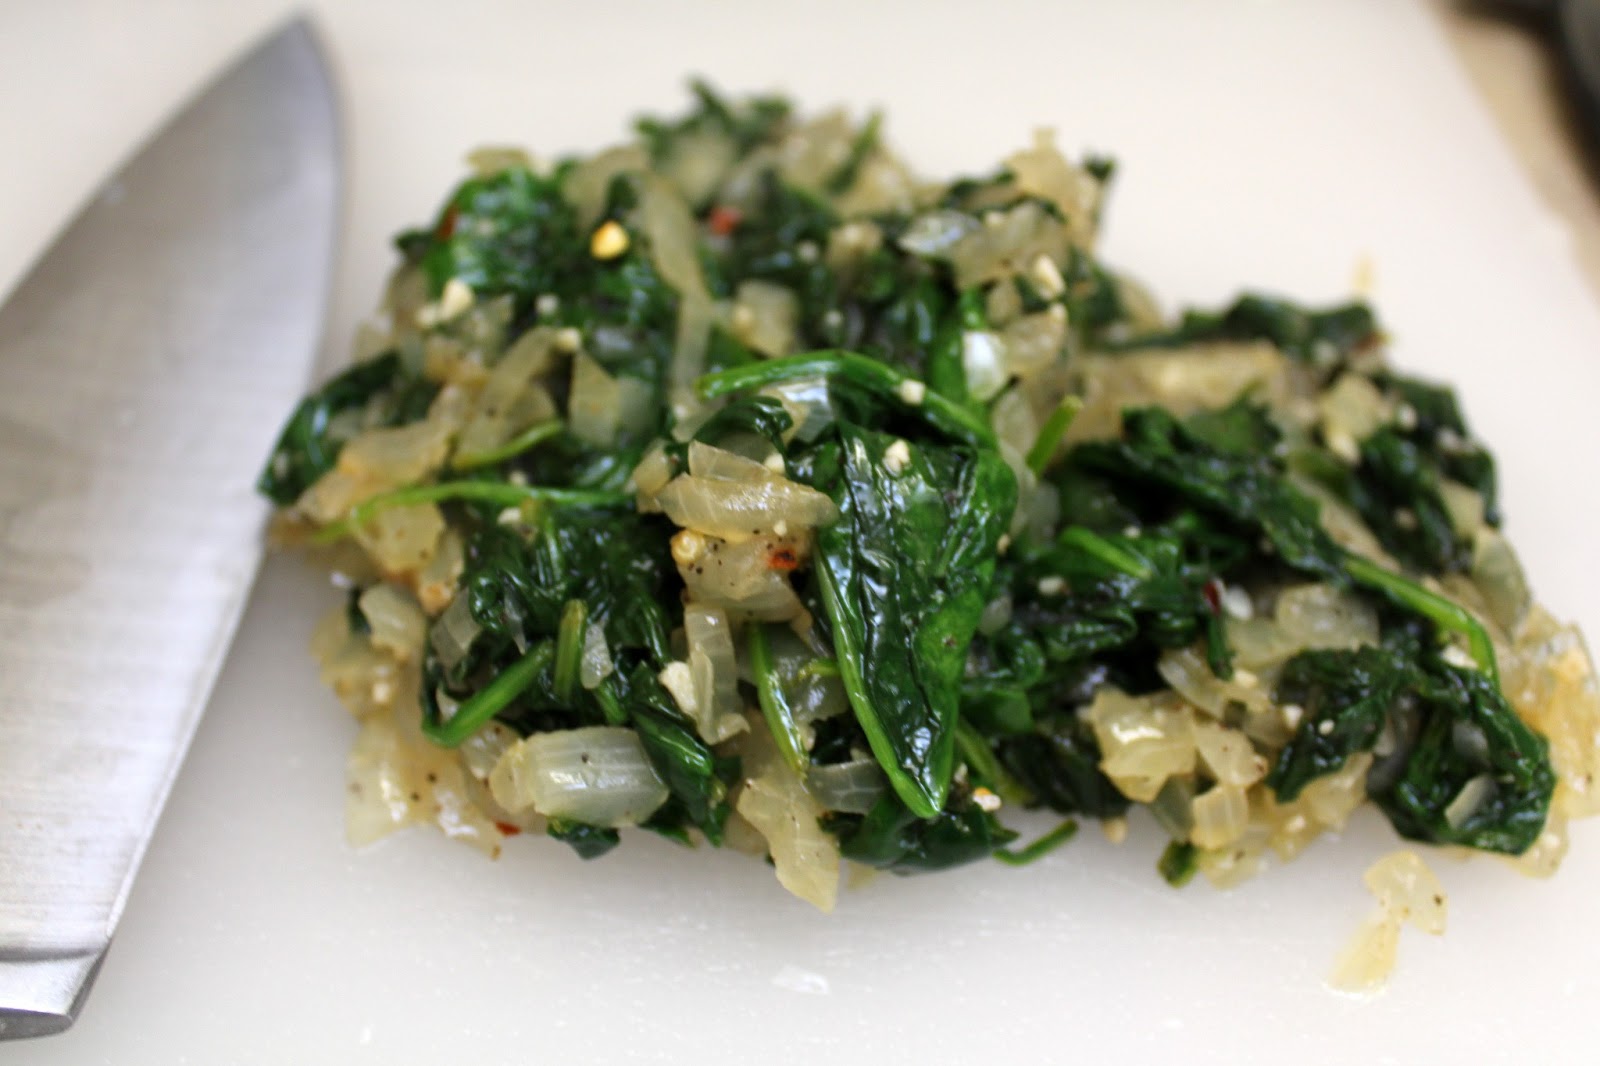
 4. Remove pan temporarily from heat. With a slotted spoon, remove the spinach, onion, and garlic from the pan, leaving as much flavored butter behind as possible. Set spinach mixture aside.  I set my spinach on a cutting board and chopped it up to make it more manageable to eat.
5. Add the artichokes to the remaining flavored buttery liquid in the pan and return to heat. Cook until the liquid is cooked off and the artichokes begin to brown. Add more Smart Balance if needed.


6. While artichokes are cooking create the base for your dip. Preheat the oven to 375 degrees Fahrenheit. Soften the tubs of non-dairy cream cheese in the microwave for 30 seconds. You want them to be easy to work with. Add the non-dairy cream cheese to a large mixing bowl.


7. Add mayonaise to the non-dairy cream cheese and combine until smooth.


8. Next add 3/4 cup mozzarella shreds and 2/3 cup Parmigiano Reggiano or parmesan alternative, spinach mixture, and browned artichokes to the cream cheese and mayo mixture. Stir until well combined. 

9. Transfer to a large baking dish and top with remaining mozzarella and parmesan. Cook for 15 minutes, or until mixture is hot and bubbly. Cooking these non-dairy ingredients together is the key to their delicious dairy taste. When I served this dish, no one could tell it was dairy free.


Thursday, March 28, 2013

Dairy Free Turkey Taco Pie


Eric and I love turkey tacos. We use a great recipe from the bottle of Frank's Red Hot Cayenne Pepper Sauce. It's our go-to meal and we have it about once every two weeks because it's so easy, incorporates all food groups in one dish, it's healthy, and it's the perfect comfort food. Turkey tacos are so easy because you can store all the ingredients in your kitchen without having to stop by the store to pick anything up. I keep ground turkey at the ready in the freezer, canned black beans and diced tomatoes in the pantry cupboard, buy rice in bulk, and store jarred salsa and Frank's in the fridge. It's a meal I don't have to plan, I just get out all the ingredients.

The basic Frank's taco recipe calls for 1 lb. cooked ground meat, 1 cup salsa, 1/4 cup Frank's Red Hot Sauce, and 2 teaspoons of chili powder. We build on the recipe and add diced tomatoes, then layer our tacos with black beans and brown rice. Occasionally Eric adds shredded cheese while I add guacamole if it's in the fridge. Sometimes we don't always have tortilla shells, and we will either eat it burrito bowl style like Chipotle, or eat with tortilla chips. I usually have some Tostitos Lime Tortilla chips on hand.

One week not too long ago I didn't have any chips or tortilla shells, but I did have fresh tomatoes, romaine lettuce, cheddar cheese shreds, and even guacamole. All the ingredients perfect for tacos! Rather than go to the store just for taco shells, I pulled out the cornmeal I use for dusting pizza crust and made a delicious Taco Pie. It's so good and looks beautiful when it's all put together. You don't need sour cream or cheese to make this delicious. Add a dollop of guac to your pie when serving to get that creaminess you desire.

Ingredients:

Crust

1/4 cup cornmeal
3/4 cup flour
1 1/2 teaspoon baking powder
1/2 teaspoon sea salt
1/3 cup almond milk
1 tablespoon vegetable oil
cooking spray

Filling

1 lb. ground turkey breast
1 cup salsa
1-2 tablespoons hot sauce
2 teaspoons chili powder
1 can black beans, drained (not rinsed)
1 cup three cheese soy cheese shreds or mixture of mozarella and cheddar Daiya Shreds
red pepper flakes (optional)
1 can diced tomatoes, drained
1 cup lettuce, shredded
Gaucamole or advacado (optional)

Directions:

1. Preheat oven to 450 degrees Fahrenheit. Spray a 9 inch pie dish with cooking spray then sprinkle a light dusting of cornmeal on bottom and sides of dish to prevent crust from sticking.
                                           

2. In a medium bowl, combine cornmeal, flour, baking powder, and salt. Stir in almond milk and vegetable oil until a ball begins to form.


3. Use your hands to knead the dough into a ball, then, on a surface dusted with flour, use a rolling pin to roll out your dough into a 10 inch circle.


4. Place your rolled out dough onto the pie dish, molding to form a crust. Tuck extra dough underneath to make even. Poke a few fine holes in the bottom and sides with a fork to prevent crust from bubbling up.


5. Place in oven and cook for five minutes, or until lightly browned and hardened like a tortilla shell.


6. Meanwhile, cook your ground turkey until browned. Drain any liquid fromt the pan, then add salsa, hot sauce, and chili powder. Simmer uncovered for ten minutes, allowing the tortilla crust to cool and the spices to seep into the turkey.

7. Add turkey and salsa mixture into tortilla crust. Follow with a thick layer of black beans, then top with cheddar cheese shreds. Sprinkle with red pepper flakes for an added kick.


8. Bake for 8 minutes, or until cheese is melted and crust is golden brown. Remove pie from oven and immediately top with diced tomatoes and lettuce. Cut like a pie and serve with guacamole.


Saturday, March 16, 2013

Roasted Potato Wedges

I made these crispy potato wedges to go with my Irish Bangers as an appetizer for St. Patrick's Day. I used Chef Paul Prudhomme's Magic Salt Free Seasoning All Purpose Blend. I also recommend Mrs. Dash Salt Free Seasonings. I did add a little sea salt to bring out the flavor, but at least I can add the amount I want. I also used yellow fingerling potatoes because that's what I had, but gold or russet potatoes will work well.

Be very careful when pulling out your potatoes from that dark, cool space in your kitchen. I had a near death experience when I lifted my bag of fingerling potatoes and a ugly brown spider was hanging from it. I almost had a heart attack along with my panic attack. Spiders are the scariest creatures on earth as far as I'm concerned. Eric knows me so well that as soon as he hears the involuntary scary spider sound coming out of my mouth (something between a scream and a yelp), it triggers his spider alert senses and he comes quickly with a fly swatter to save the day. Sigh...he is my hero.

Ingredients:

2 lbs of potatoes, washed
2 tablespoons vegetable oil
1/2 teaspoon sea salt
2 teaspoons salt-free all-purpose seasoning

Directions:

1. Preheat oven to 350 degrees Fahrenheit. Slice potatoes into skinny wedges, like fry cuts.

2. In a large dish, add wedges and vegetable oil, then toss until wedges are completely covered in it. Sprinkle on some sea salt, then transfer wedges to a nonstick baking pan.

3. Bake wedges for 40 minutes, stirring occasionally to brown all sides. Once wedges look browned and are crispy on the outside, remove them from the oven and sprinkle with all-purpose seasoning. You can place them in a paper towel lined tray or basket to absorb the excess oil and to serve less greasy wedges.

Irish Bangers and Whiskey


These Irish sausages are a fun and simple option as an appetizer for your St. Patrick's Day Party. I recommend using some Irish Whiskey, but whatever you have on hand will work great. Throw the ingredients together and walk away while they cook in the sweet whiskey sauce. Broil to make them crispy, transport in the Crock Pot, then serve them with toothpicks.

While I waited for the sausages to cook, I picked out my outfit for our couple's St. Patrick's Day Party. Unfortunately, I don't have any fun t-shirts that say things like "Luck O' the Irish," or my personal favorite, "Patrick was a Saint, I ain't." But my family used to go all out for St. Patrick's Day. We have a direct Irish heritage on my Dad's side. Even my little brother's name is Patrick. And Pittsburgh, Pennsylvania is the place to be on St. Paddy's Day.

I've had some serious adventures on St. Patrick's Day in Pittsburgh. I went to a women's private college called Carlow University--it was founded by Irish nuns. They have a sister university in Carlow, Ireland. I was on the dance team, and one year the student activities director asked if we would learn an Irish step dance routine and perform in the city parade. Of course we said yes, since it sounded like a fun opportunity.

Learning Irish step dancing was really fun, but the parade was a total misadventure. First, we almost missed it, because trying to get a bus to the parade route was impossible. Public buses of college students passed us by because they were so full. We were just standing on the side of the road, a group of young college girls in our green Carlow hoodies, all done up for a performance. Eventually, a party bus decked out in St. Patrick's Day decorations and flashing lights saw us waiting and picked us up. Whoever was running the bus took us to the parade route with no charge, blasting crazy music the whole way there. That was pretty awesome.

Then the parade started and we danced our routine for a few miles in icy cold, slushy Pittsburgh weather, right in front of the truck transporting Punxsutawney Phil, the Groundhog. I remember my tennis shoes and socks being completely soaked through. My black pants were wet all the way up to my knees. We were cold and miserable, and to top it all off, the drunk college guys threw green beads at us yelling "Dance! Dance!" I vowed to never do that again, but it was one of those experiences you just can't make up, filled with memories I'll never forget.

I was able to save my shoes, but I haven't been to a parade since. I hope you have a positive St. Patrick's Day experience filled with green drinks and lots of luck. Enjoy this Irish Banger recipe along with my recipe for Roasted Potato Wedges. Happy St. Patrick's Day!

Ingredients:

2 lb. Irish Bangers (16 links), separated
1 tablespoon vegetable oil
1/2 cup whiskey
1/2 packed brown sugar, plus more to sprinkle on top

Directions:

1. Sear the sausages in a skillet with vegetable oil over medium heat until browned on all sides (about 10 minutes).

2. Let sit for five-ten minutes to cool down for cutting.

3. Cut sausages into 1/2 inch slices, perfect bite size pieces for appetizers. Add sausages to the Crock Pot and turn on low setting.

4. Mix together 1/2 cup whiskey with 1/2 cup packed brown sugar until blended but not dissolved. Pour mixture over sausage pieces in the Crock Pot and stir to coat. Slow cook for three to four hours.

5. You can serve them like this, or, to make them crispy, broil them. Turn off Crock Pot. With a slotted spoon, place sausages in a broiling pan, sprinkle with brown sugar, and broil for three minutes. Pour the excess liquid from the Crock Pot into a measuring cup. Add 1/8 cup of the whiskey liquid back into the Crock Pot and discard the rest.

6. Once sausages are browned, add them back to the Crock Pot with the small amount of liquid to stay warm. Transport them to the party and turn the Crock Pot on low to keep warm for guests. Serve with toothpicks.


Thursday, February 28, 2013

Sweetheart Crackers


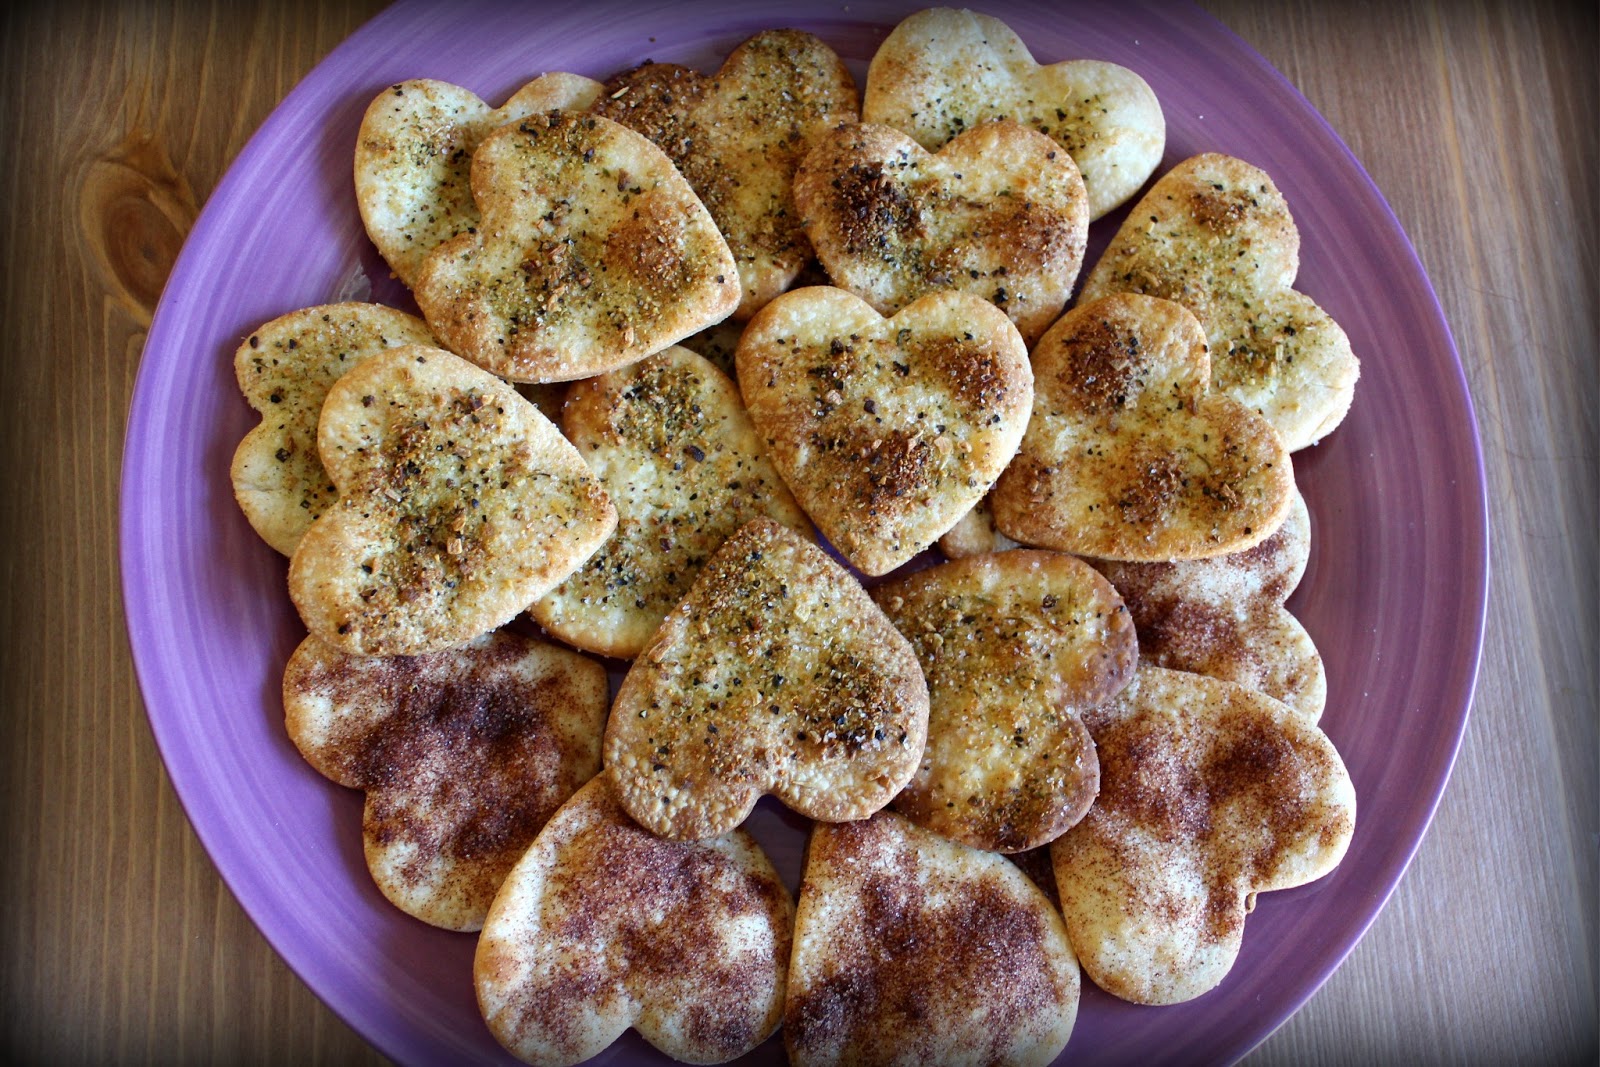
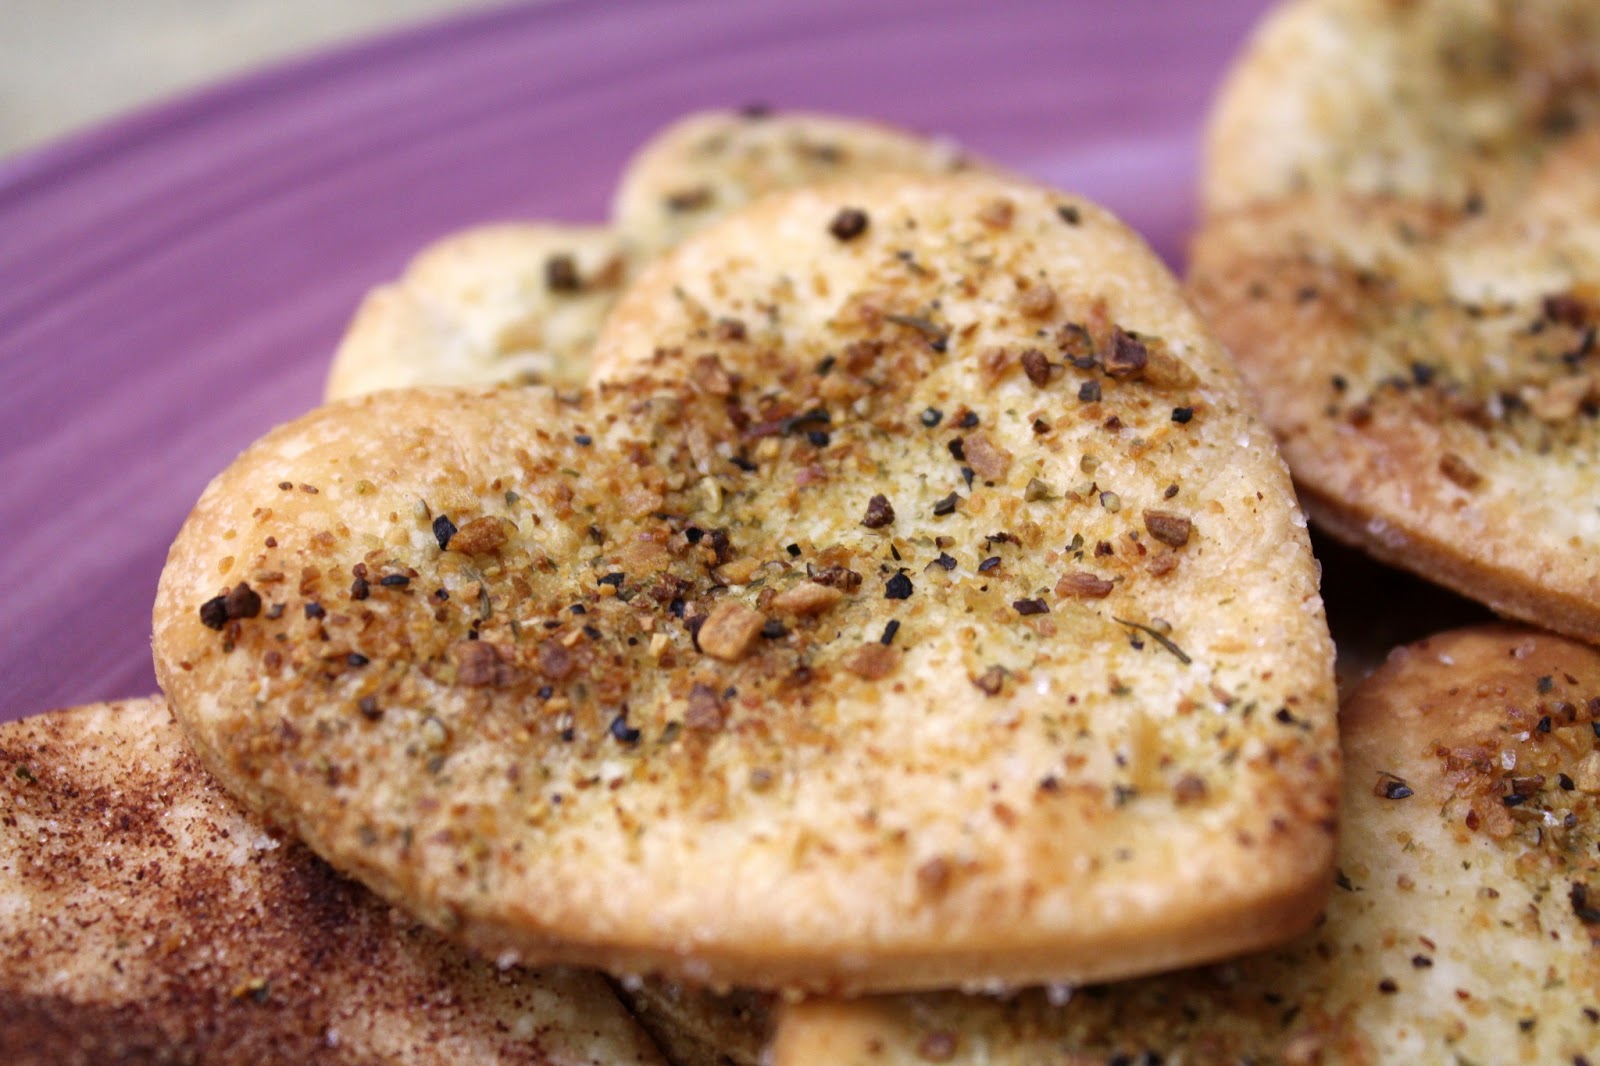
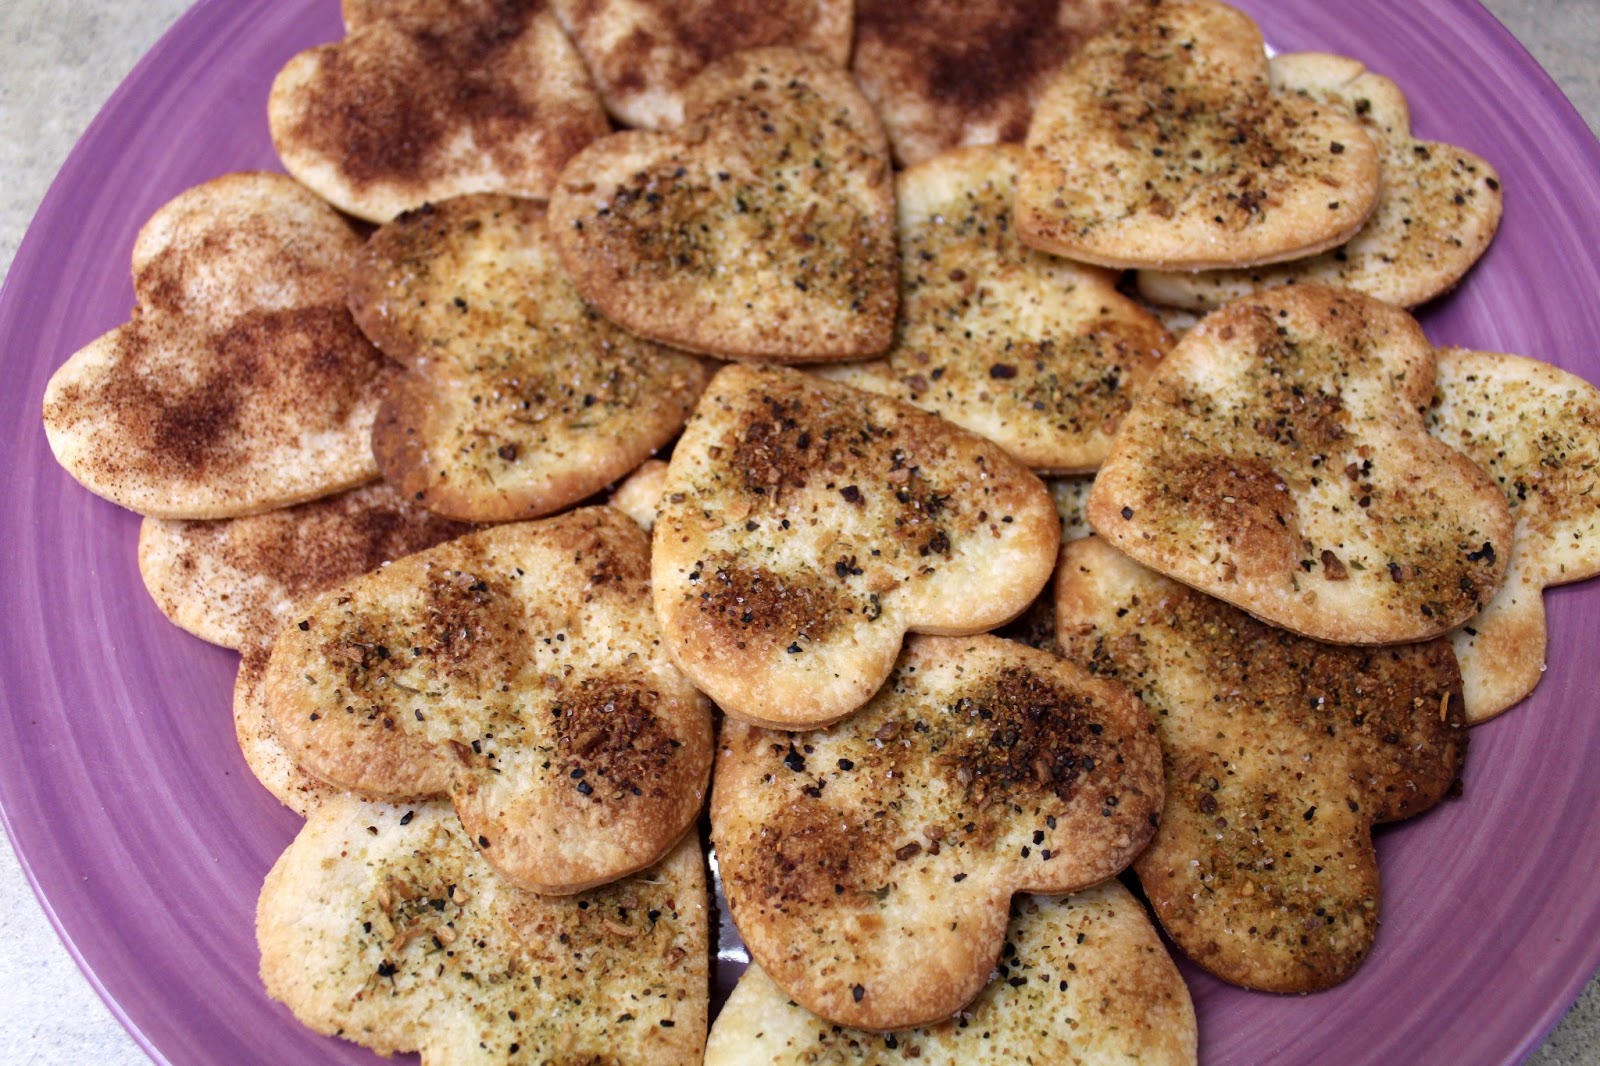
I made these cute little crackers for my husband for Valentine's Day, since he doesn't like me to get him sweets. We took them to a dinner party were they were a big hit among our friends. We didn't bring a single one home. This is the second year I've made them, first trying them out with the kids I watch. It's such a fun and easy kid craft. They love rolling the dough and cutting out shapes, then, of course, eating them.

I first got this idea from Pillsbury, although I came up with my own seasoning and used a cultured pie crust from Whole Foods with no hydrogenated oils. Also, the idea on the Pillsbury website doesn't give very detailed instructions, so I have my own. You will need your own cookie cutters. I used a heart shaped cookie cutter for Valentine's Day but any will do. It's the only cookie cutter I have besides a ginger bread man! I am not much of a baker.

I made half cinnamon sugar and half herb seasoned crackers. Both are equally delicious. Favorites depend on who's eating. It's a perfect treat for the kids and the Valentine who doesn't eat sweets!

Ingredients:

2 refrigerated pie crusts, set out for 15 minutes
Vegetable oil
2 tablespoons white sugar
1 tablespoon ground cinnamon
Mrs. Dash's Garlic and Herb Seasoning
Sea Salt
Flour for dusting

Directions:

1. Preheat the oven to 400 degrees Fahrenheit. Combine sugar and cinnamon mixture in a small dish.


2. Line two baking sheets with parchment paper. If you don't have parchment paper, make sure you spray on the cooking oil. Unroll pie crust onto a cutting board and roll over with a rolling pin to flatten and thin.


3. Cut as many shapes as you can into the rolled out crust, then lift the excess pie dough and set aside. Carefully lift the pie dough shapes and lie them on the parchment paper lined cookie sheet in three rows of four, or however many you can fit. Repeat with the second pie crust then set excess dough aside. If you run out of space on the cookie sheets, just cut a large square of parchment paper and place the dough shapes on the paper to wait for an available pan.

4. Combine and roll out the excess dough (dusting with flour if it becomes sticky) onto the cutting board and cut more shapes. Repeat until the amount of dough is too small to make a shape.

5. Brush pie dough shapes very lightly with vegetable oil. Sprinkle one tray of shapes with the cinnamon-sugar mixture. Sprinkle the other tray of shapes with the garlic and herb mixture followed by a little sea salt.


6. Bake for six minutes, until crackers are lightly browned. Don't leave them in for too long! They will burn very quickly. Let them cool for a few minutes, then set the crackers on a platter to enjoy. You can also arrange them in some cellophane and ribbons for a little gift.


30 Minute Tomato and Kale Pasta for Two


I love this dish not only because it uses all my favorite super fresh vegetables, but because it is so easy! You just throw all the ingredients into a dish and put it in the oven. It's absolutely delicious comfort food.

I used a cute curly pasta to go with my dish, but you can use whatever you have on hand. This is better for the summer when all the ingredients can be at their freshest. Sprinkle with Parma before serving! If you can find it, it's a parmesan cheese imitation topping made from sea salt, walnuts, and nutritional yeast.

Ingredients:

2 cups uncooked pasta
1 package whole cherry tomatoes
1 teaspoon minced garlic
2 large kale leaves, stems removed and leaves shredded
1/4 cup yellow onion, chopped
2 tablespoons extra virgin olive oil
1/2 teaspoon sea salt
1/4 teaspoon black pepper
1/4 teaspoon dried oregano
1/4 teaspoon dried basil

Directions:

1. Preheat the oven to 400 degrees Fahrenheit  Add whole cherry tomatoes, garlic, kale, and onion into a small glass casserole dish and toss. I used a loaf dish.

2. Drizzle olive oil on top, toss to coat. Add salt, pepper, oregano, and basil and stir to coat evenly.

3. Bake in the oven for 25 minutes. While the sauce is cooking, start your pasta according to the directions so that it's hot, fresh, and ready as soon as the tomato and kale sauce is done. I hope it becomes your go-to comfort food!


Easy Dairy Free Hot Chocolate


I can't think of anything much better than hot chocolate on a cold winter day, especially a snow day! We were recently in Pittsburgh, PA visiting our family, and while we there a ton of snow came down. There's even more there now! I don't willingly go out in the snow now, but when I was little there wasn't a better treat than going sled riding or making a snowman with my brothers and coming back inside to my mom's stovetop hot chocolate. I skipped the stove and just used the microwave, but if you have a whole family of soy milk drinkers, the stovetop method is for you.

The trick to imitating the best dairy based hot chocolate is using the right milk. Silk's Very Vanilla Soymilk is the perfect alternative. It makes a thick and creamy hot chocolate that tastes just as good, if not better, than the real thing. If you try to make this recipe with regular soy milk, you won't get a great result unless you add thickeners, sweeteners, and flavors. So just buy the Silk Very Vanilla if you can drink it. Everything is already added to make it thick and delicious. I'd love to try some other milks and see what the result is, though this recipe is perfect.

An amazing thing about cocoa powder is that it's natural, pure, soft as a whisper ground cocoa. No dairy, sugar, or anything added. It's completely vegan. The only difference between hot cocoa mix and cocoa powder is the milk powder and sugar. Add sweetener to the cocoa powder and you have an instant dairy free hot cocoa mix.

Ingredients:

1 cup Silk Very Vanilla Soymilk
2 teaspoons cocoa powder
1/8 teaspoon vanilla extract
2 teaspoons of Truvia (two packets), or your preferred sweetener to taste


Directions:

1. Heat the soy milk in the microwave for 1 minute and 30 seconds. Stir in cocoa powder immediately after heating. If you'd like it hotter, microwave in 15 second intervals until desired temperature.


2. Stir in vanilla and your choice of sweetener to taste. Add mini marshmallows to the top instead of whipped cream. Marshmallows are always dairy free!