Showing posts with label Dessert. Show all posts

Sunday, June 30, 2013

Coconut Coffee Ice Cream


I just came back from a month long trip to the East Coast, and it was so very hot and humid while I was there. The difference between Pittsburgh and California summer is not the temperature but the humidity. However, every building or house in Pittsburgh has air conditioning. I've just come home to a sweltering apartment with only one window air conditioner in the bedroom. If there was any humidity in the Bay Area forget it--we would rent a place with central AC. And every place would have better air conditioning.

The past few summers living here have been very mild, but for some reason it's July in Mountain View and 90 degrees. Tuesday it's supposed to go up to 100 degrees! After spending over three weeks in air conditioning this apartment is awful. The heat is bearable but draining. So I was super tired after my flight and decided to make an easy, no cook, coconut ice cream to beat the heat. My chocolate chips were actually melted in my cupboard from the heat, so I made coffee ice cream out of instant coffee instead. It makes a nice pick me up as well, which I needed! Make sure your coconut milk is full fat and chilled for a day or two in the fridge. It also helps to chill the bowls and containers you will be using, especially if it's a hot day. Oh my, this coconut ice cream is so delicious--it tastes like a Starbucks Vanilla Frappaccino with whipped cream. 

Ingredients:

2 cans full fat coconut milk, chilled
2 tablespoons instant coffee
3/4 cups white sugar
1 teaspoon vanilla

Directions: 
1. Add coffee and sugar to a medium bowl and mix together.      


2. Open cans of full fat coconut milk. Solid part should be at the top if fully chilled. Leaving the cream in the can, drain only the light liquid coconut milk into the bowl of coffee and sugar. Whisk until sugar is dissolved.


3. Prepare your ice cream maker. I just need to get my frozen bowl out of the freezer and set it in the mixer. Stir the coconut cream remaining in the can into the coffee/milk mixture until well blended. Immediately pour into ice cream maker. Let mix for 25-30 minutes. Freeze to harden or enjoy soft.


       

Friday, May 31, 2013

Nutella Brownies


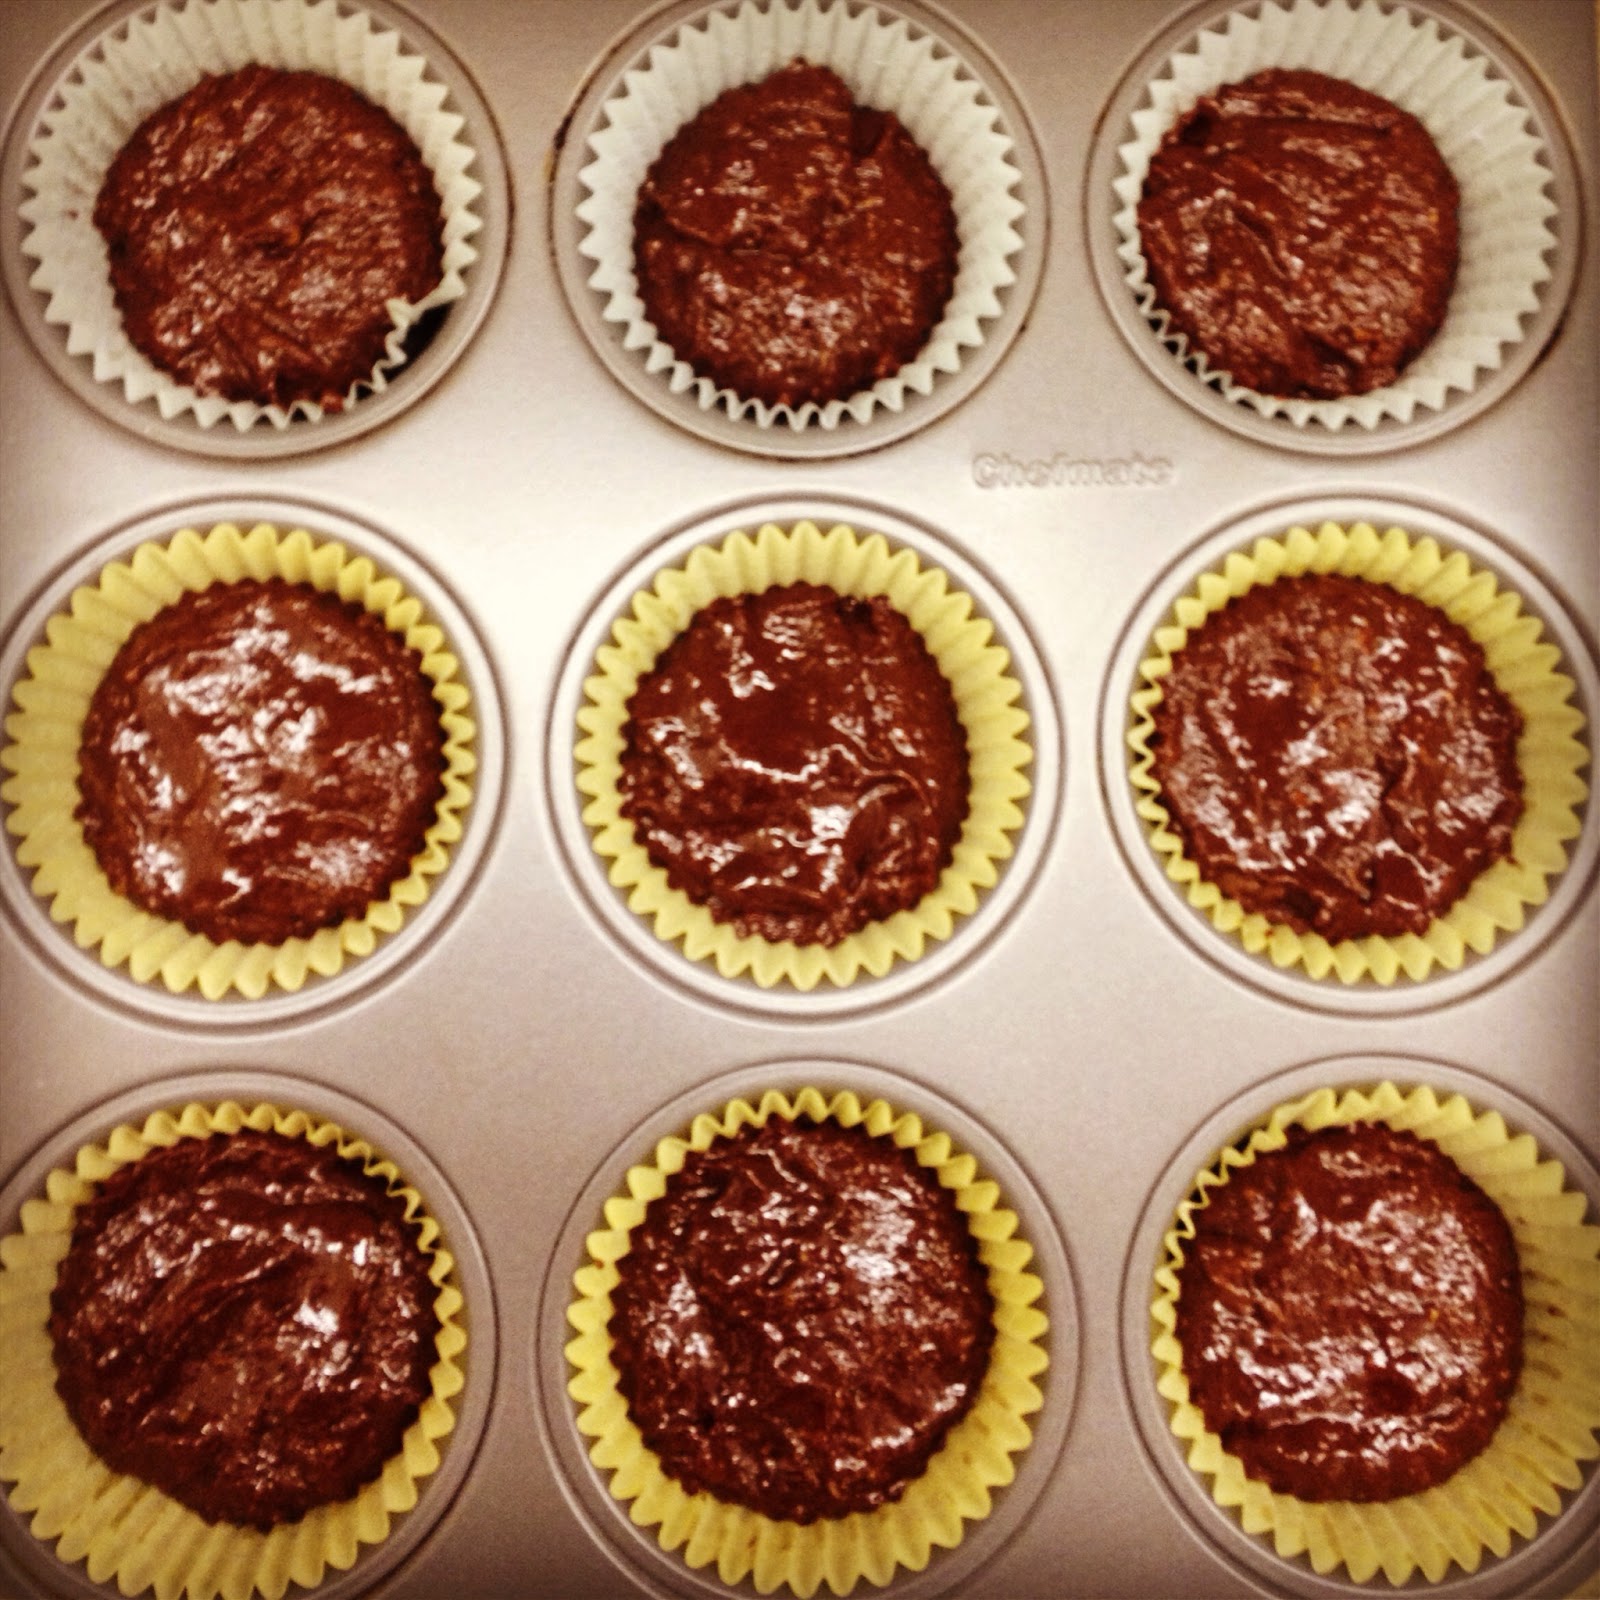
I first saw the idea for Nutella brownies on Pinterest, although, when I went to click on the link to the post it was marked as spam. I looked up another recipe for proper cooking time. It was a bit more complicated, so, filtering out the extras, I was able to decipher the very simple way of baking Nutella brownies.

I made these for my best friend Alicia for her bridal shower, since one of her favorite foods is Nutella! She spent some time in Italy studying abroad and she would bring Nutella to our dormitory, where we would eat it out of the jar with pretzels and spread it on croissants.

I wrapped the brownies in blue wrappers to match her wedding colors. They were a big hit: chewy, soft, melt in your mouth chocolately hazelnut goodness.

The brownies will look too soft and not quite done--don't panic! This is how they are supposed to be. Don't cook them too long!

P.S. These are not dairy free. Nutella is made with skim milk. However, I ate one at a time with no lactose intolerance problems. These are extremely rich, so I recommend eating one at a time anyway! My ultimate goal is to create dairy free chocolate hazelnut brownies. Will start working on that asap.

Ingredients:
1 cup Nutella
1/2 cup plus 2 tablespoons flour
2 eggs

Directions:

Using a rubber spatula, mix 1/2 cup + 2 level tablespoons of flour with 2 eggs and 1 cup of Nutella until just combined. Divide batter equally into a 12 cup muffin pan. Bake at 350 Fahrenheit for 12 minutes. Centers will be soft. Allow to cool before eating and store in refrigerator.


Thursday, February 28, 2013

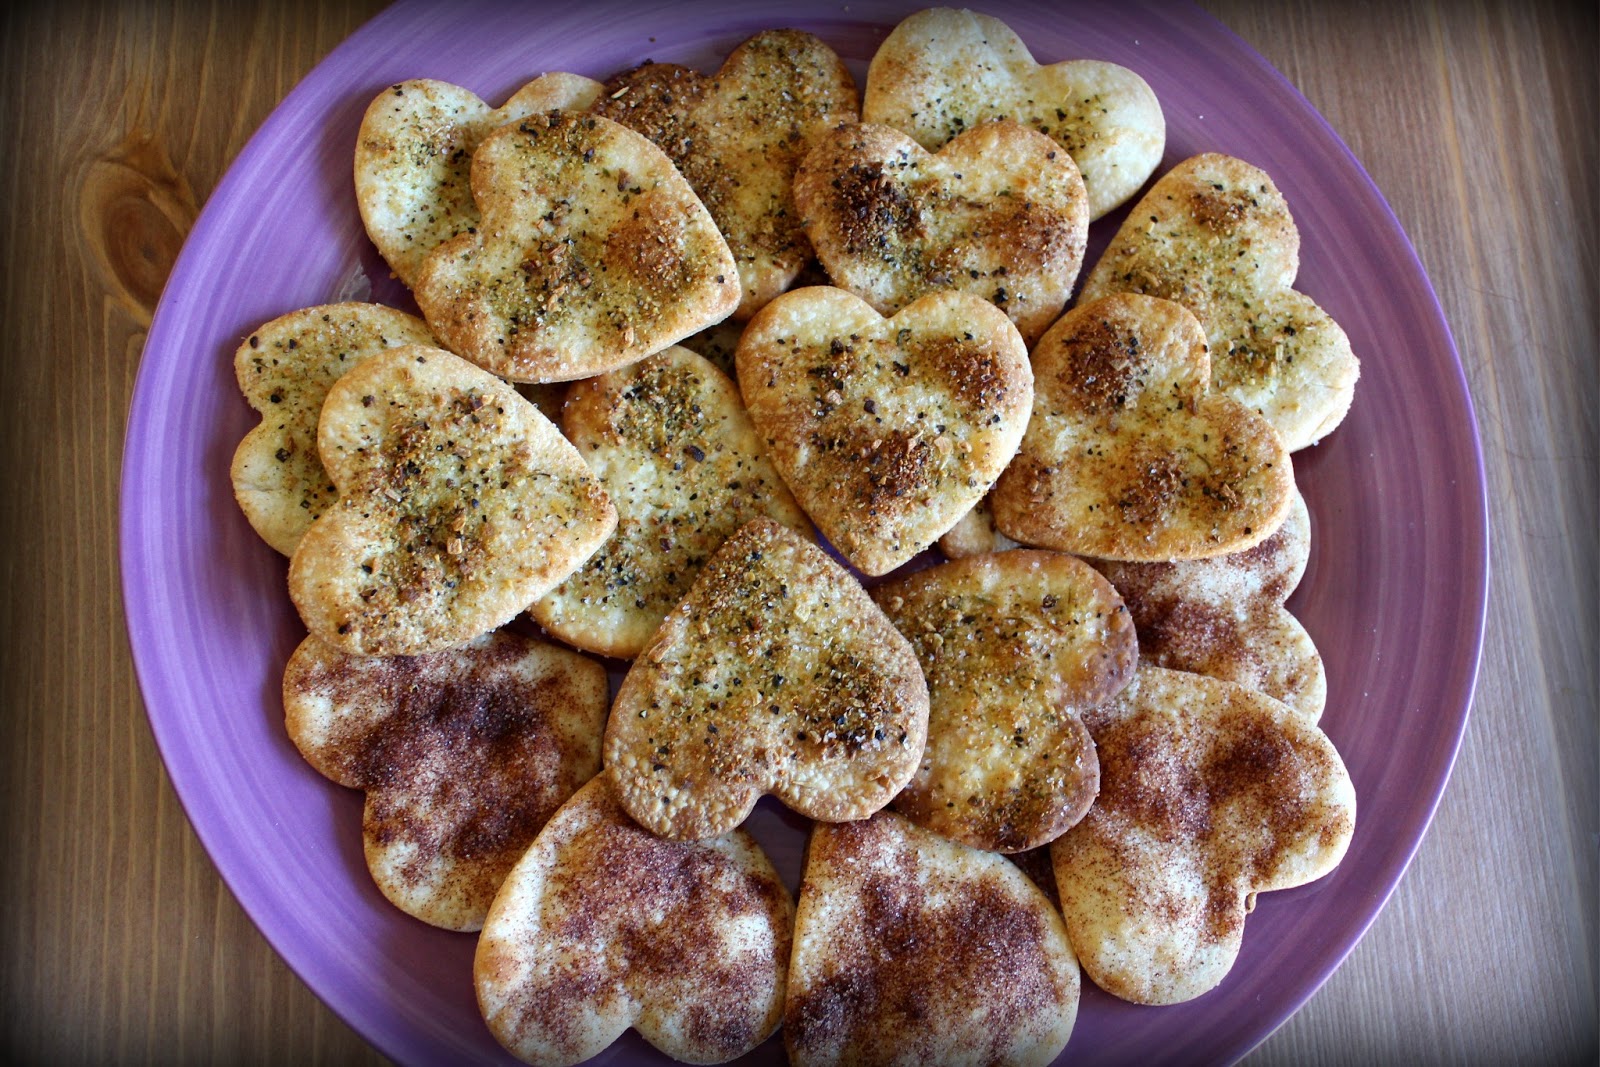
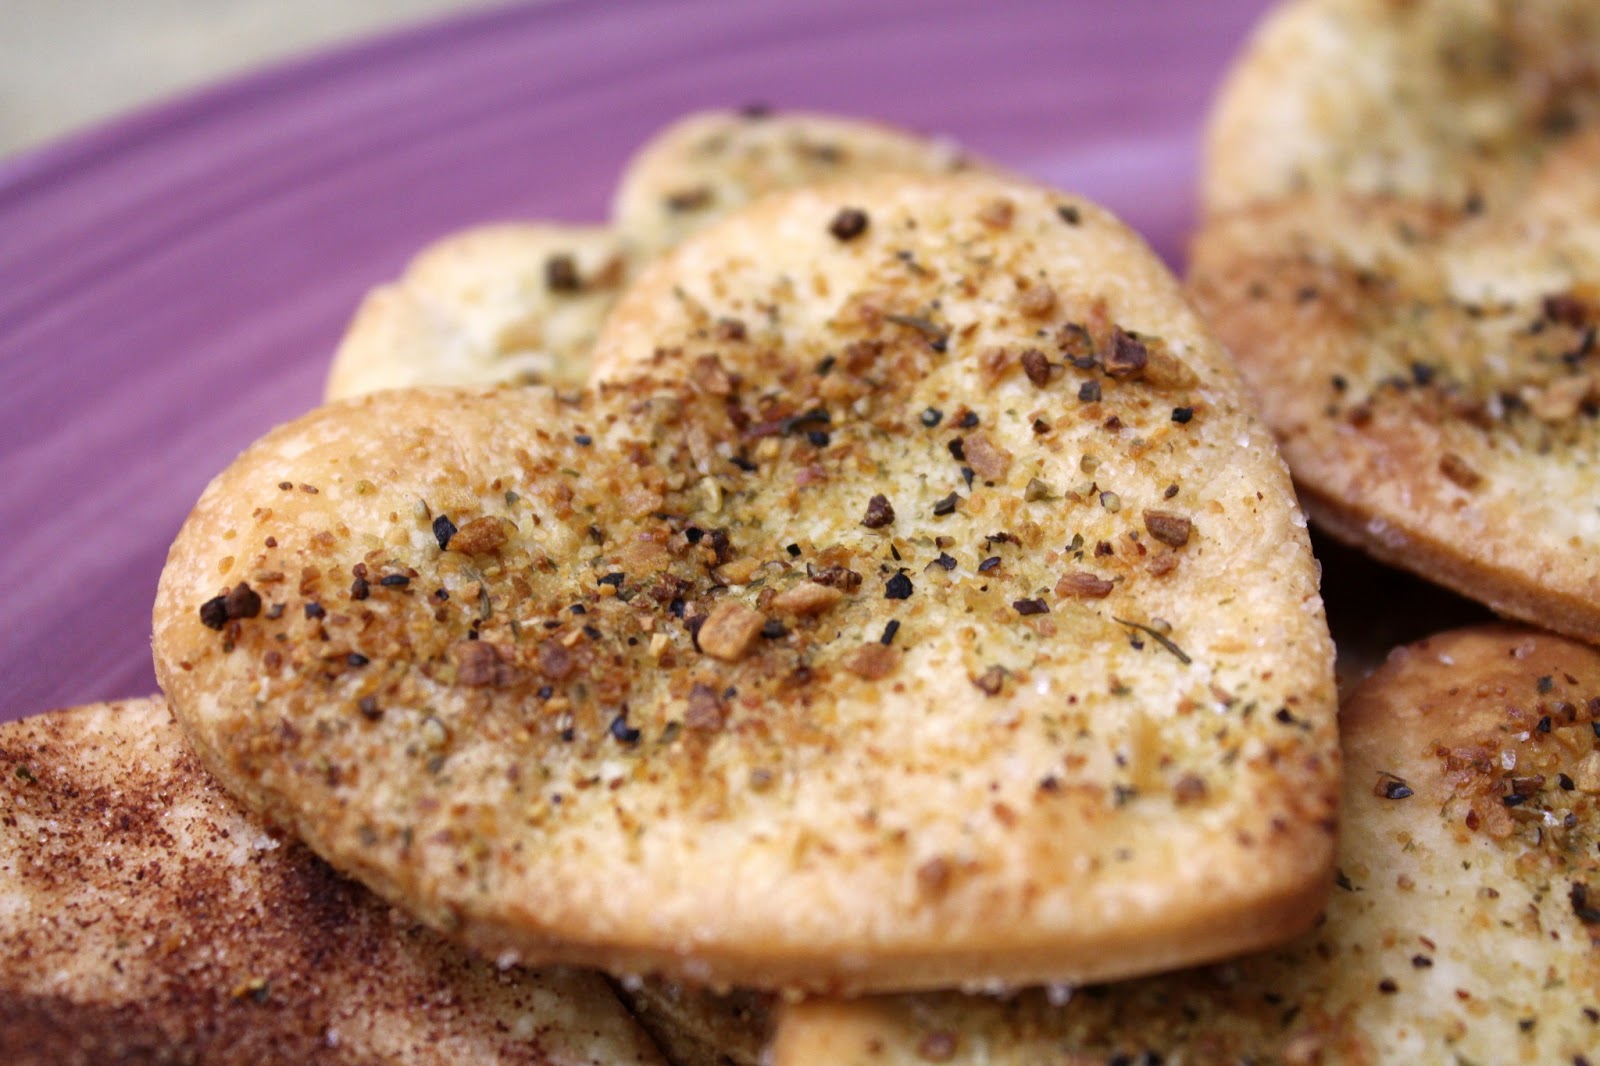
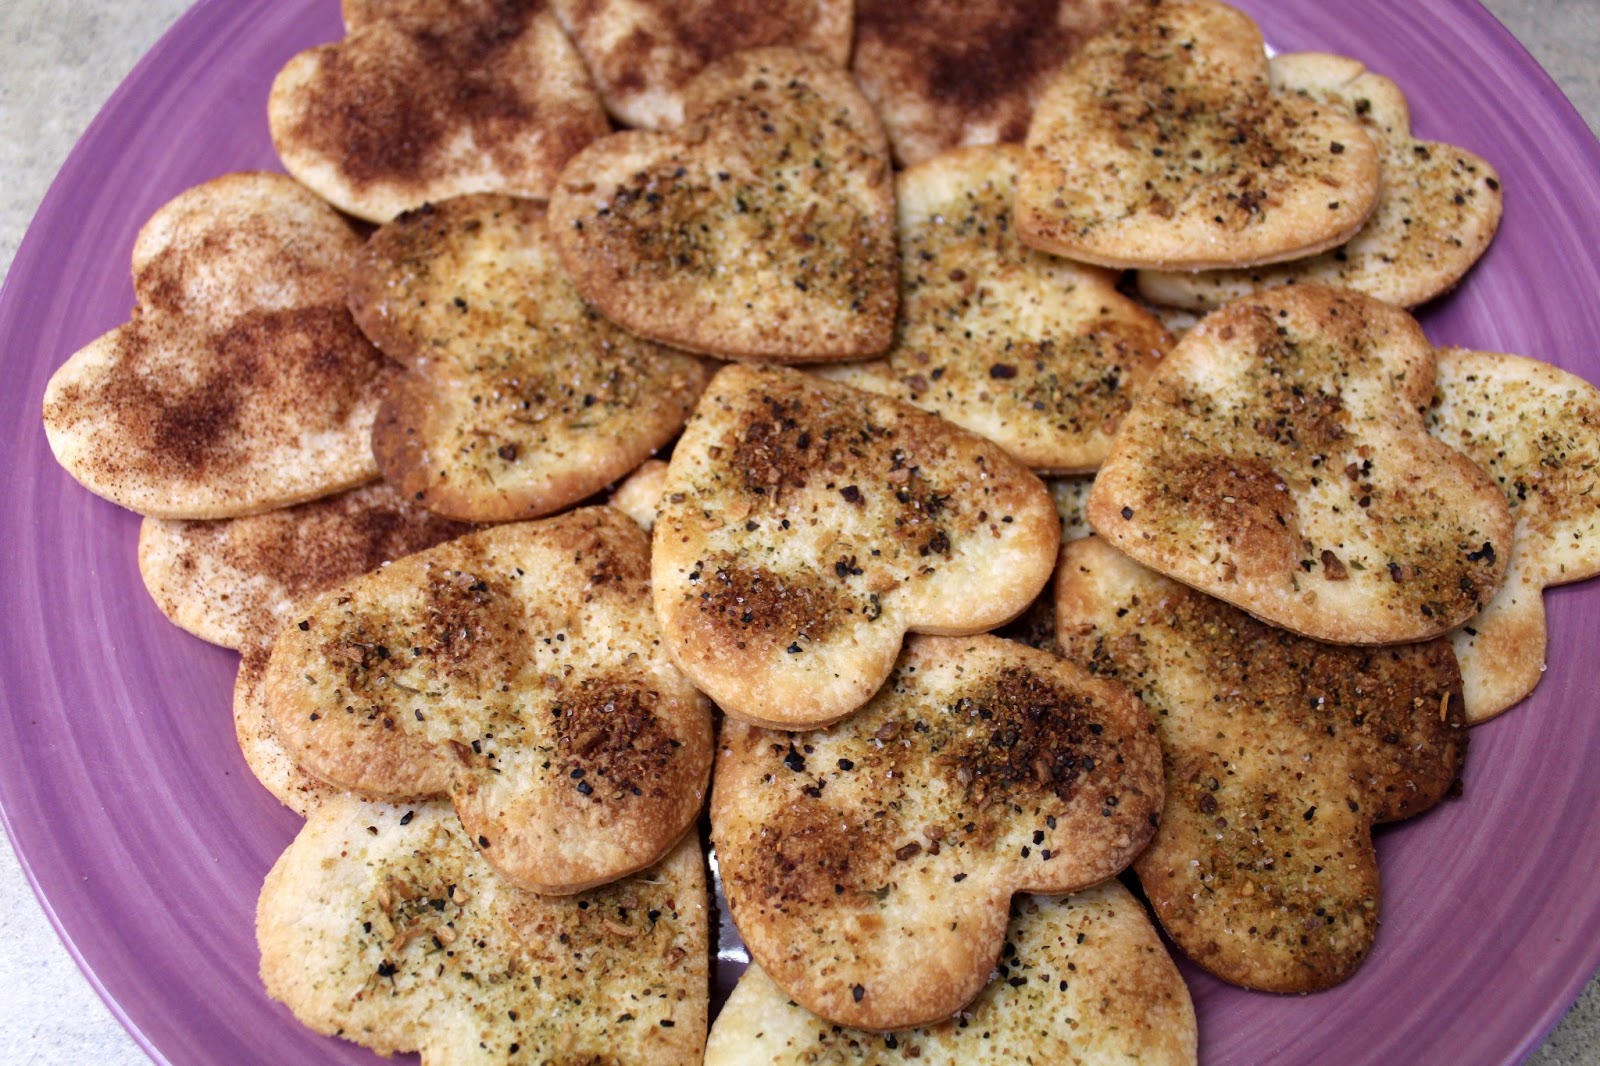
Sweetheart Crackers


I made these cute little crackers for my husband for Valentine's Day, since he doesn't like me to get him sweets. We took them to a dinner party were they were a big hit among our friends. We didn't bring a single one home. This is the second year I've made them, first trying them out with the kids I watch. It's such a fun and easy kid craft. They love rolling the dough and cutting out shapes, then, of course, eating them.

I first got this idea from Pillsbury, although I came up with my own seasoning and used a cultured pie crust from Whole Foods with no hydrogenated oils. Also, the idea on the Pillsbury website doesn't give very detailed instructions, so I have my own. You will need your own cookie cutters. I used a heart shaped cookie cutter for Valentine's Day but any will do. It's the only cookie cutter I have besides a ginger bread man! I am not much of a baker.

I made half cinnamon sugar and half herb seasoned crackers. Both are equally delicious. Favorites depend on who's eating. It's a perfect treat for the kids and the Valentine who doesn't eat sweets!

Ingredients:

2 refrigerated pie crusts, set out for 15 minutes
Vegetable oil
2 tablespoons white sugar
1 tablespoon ground cinnamon
Mrs. Dash's Garlic and Herb Seasoning
Sea Salt
Flour for dusting

Directions:

1. Preheat the oven to 400 degrees Fahrenheit. Combine sugar and cinnamon mixture in a small dish.


2. Line two baking sheets with parchment paper. If you don't have parchment paper, make sure you spray on the cooking oil. Unroll pie crust onto a cutting board and roll over with a rolling pin to flatten and thin.


3. Cut as many shapes as you can into the rolled out crust, then lift the excess pie dough and set aside. Carefully lift the pie dough shapes and lie them on the parchment paper lined cookie sheet in three rows of four, or however many you can fit. Repeat with the second pie crust then set excess dough aside. If you run out of space on the cookie sheets, just cut a large square of parchment paper and place the dough shapes on the paper to wait for an available pan.

4. Combine and roll out the excess dough (dusting with flour if it becomes sticky) onto the cutting board and cut more shapes. Repeat until the amount of dough is too small to make a shape.

5. Brush pie dough shapes very lightly with vegetable oil. Sprinkle one tray of shapes with the cinnamon-sugar mixture. Sprinkle the other tray of shapes with the garlic and herb mixture followed by a little sea salt.


6. Bake for six minutes, until crackers are lightly browned. Don't leave them in for too long! They will burn very quickly. Let them cool for a few minutes, then set the crackers on a platter to enjoy. You can also arrange them in some cellophane and ribbons for a little gift.


Monday, December 31, 2012

Triple Chocolate Dairy Free "Cheese"cake


Since it's not cheese, it's more like chocolate pie, but the texture is like cheesecake and it's delicious! Who cares if it's not the real thing? All I can think of while eating this is: mmmm chocolatey goodness!

This recipe uses the brand Toffuti Better Than Cream Cheese and Toffuti Better Than Sour Cream. It's name is up to its product that's for sure. It has no cholesterol and no lactose, so it's better for you, and it tastes great, too. I used full fat coconut milk for the chocolate topping--this is not a low fat dessert!


Ingredients:
Crust:
1 package Annie's Chocolate Graham Bunnies, crushed to crumbs
1/4 cup Smart Balance Light Buttery Spread, softened

Filling:1/4 cups semi sweet chocolate chips
1/4 cup full fat coconut milk
2 tubs Toffuti Better Than Cream Cheese
1 tub Toffuti Better Than Sour Cream
3/4 cup white sugar
1/3 cup cocoa powder
3 eggs
1 teaspoon vanilla extract

Topping:3/4 cup semi sweet chocolate chips
1/4 cup full fat coconut milk
1 teaspoon vanilla extract

Directions:

1. Preheat oven to 350 degrees Fahrenheit. In a medium bowl, mix crushed cookies and butter alternative together until well combined. Press firmly into a nonstick, greased pie dish or springform pan. Bake for 10 minutes then allow to cool while reducing oven temperature to 325.

2. For filling, warm coconut milk in the microwave. Add 1/4 cup chocolate chips and stir until melted. Reheat in 10 second increments to fully melt if needed.

3. Using an electric mixer, beat cream cheese, sour cream, and sugar in a large bowl until blended. Add cocoa powder and mix.

4. Mix in the eggs until just blended, do not overbeat. Then with a spoon or spatula stir in the melted chocolate mixture and vanilla. Pour mixture into the baked cookie crust and bake for 45 to 50 minutes or until center has set and cheesecake is level.


5. Remove cheesecake from oven and allow it to cool. Meanwhile, prepare your chocolate topping. Melt the rest of the chocolate chips in the coconut milk as directed in step two. Pour the chocolate mixture overtop of the cheesecake, covering evenly. Put in the refrigerator to set and cool. Once the chocolate topping is hardened, it is ready to serve! It will melt in your mouth!


Wednesday, October 31, 2012

Coconut Milk Pumpkin Pie


Last year I made a pumpkin pie out of Silk Very Vanilla Soymilk, but this year I was much more impressed with how it turned out using full fat coconut milk. I made it sugar free as well, using Splenda, although I would recommend using Stevia instead--it's much better for you! Or try making it with Agave syrup. I'm going to try that next time.

I loved how the color turned out--it's looks like it's made with regular milk but it's a bit lighter, unlike the soy milk which makes it darker. And the full fat canned coconut milk has the same consistency as cream so I only needed two eggs. I also used organic pumpkin-go me! Tastes delicious!

Ingredients:
1 refrigerated pie crust
3/4 cup sweetner (white sugar, stevia, Splenda, or Agave syrup)
1/2 teaspoon sea salt
1 teaspoon ground cinnamon
1/2 teaspoon ground ginger
1/2 teaspoon ground cloves
1/4 teaspoon ground nutmeg
2 large eggs
15oz can pumpkin
12 oz full fat canned coconut milk, shaken

Directions:1. Preheat oven to 425 degrees Fahrenheit.

2. Mold the pie crust into a pie dish and fold excess dough under the edges. Poke holes in the bottom so your beautiful crust doesn't shrink like mine did! (Oops)
3. Mix sugar, salt, and spices in a small bowl until thoroughly blended.

4. In a large bowl, beat eggs. Stir in the pumpkin and then the sugar and spice mixture.

5. Gradually add full fat coconut milk and stir until completely blended. Pour into pie crust.

6. Bake for 15 minutes to set, then lower the temperature to 350 degrees Fahrenheit and bake for 40 minutes. To check if the pie is done, stick a knife through the middle and see if it comes up clean. If there is a layer of pumpkin on it, you may need to bake for an additional 5-10 minutes. 


Friday, September 28, 2012

Dairy Free, Egg Free Pumpkin Ice Cream

It's that time again! Fall is here, and I'm super excited about pumpkin everything! I've already had my pumpkin spice latte at Starbucks, and the annual Half Moon Bay Pumpkin Festival is in two weeks. There we will get big pumpkins from the pumpkin patch and enjoy pumpkin pancakes, smoothies, curry, pie, bread, and even pumpkin ale!

I had a go at some dairy free pumpkin ice cream and it is so delicious. It tastes just like pumpkin pie without the crust. My recipe is completely vegan and low in sugar. Add an extra half cup of soy milk to make it creamier and less pumpkiny, if you like it like that. I hope you have an ice cream maker!

Ingredients:
1 15 oz can full fat coconut milk, chilled
1 15 oz can pureed pumpkin, chilled
1/2 cup Very Vanilla Silk Soymilk (optional)
1/3 cup agave syrup
1 teaspoon vanilla extract
1 teaspoon cinnamon
1/2 teaspoon ground ginger
1/8 teaspoon nutmeg
1/8 teaspoon ground cloves

Directions:
1. Stir all ingredients together until smooth. I used an electric mixer but it's not necessary.


2. Pour into your completely frozen electric ice cream maker and it should be soft serve ready in 15-20 minutes! Put it in the freezer for an hour to harden it up if you prefer. If storing in the freezer, let it soften for a half hour before eating.


Sunday, August 5, 2012

Delicious Dairy Free Ice Cream


Smooth, sweet, and creamy--it's as good as the real thing! I love this combination of full fat coconut milk and vanilla soy milk. It makes a rich ice cream that doesn't make me miss the dairy. I've tried a few combinations, and there are alternatives with fewer calories, but this recipe is the best tasting. Using just soy milk gives the ice cream a grainy, icy texture, but add the thick, sweet, full fat coconut milk and you have an instant substitute for heavy cream.

Any non-dairy milk will do for this recipe, but I love the thick texture and sweetness of Silk Very Vanilla soymilk. Homemade ice cream has the added benefit of being able to add your own amount of sugar. Agave syrup is a healthier option as it is metabolized slower than sugar. Besides being easy to mix in it also has a mild flavor that compliments vanilla quite well.

This recipe requires an electric ice cream maker. If you don't have one, I suggest getting one. They are perfect for making ice cold homemade treats in twenty minutes or less. Frozen yogurt, sorbet, frozen drinks, and slushies are other great ideas to make with this tool.

You can easily add mix ins to make other flavors. Eight ounces of melted chocolate added to this recipe will give you a delectable chocolate ice cream. I've also added crushed chocolate and cream (dairy free) cookies in the last five minutes of mixing for cookies and cream ice cream. The possibilities are endless!

Ingredients:

1 can full fat coconut milk, chilled at least two hours in the fridge
1 1/4 cups refrigerated Silk Very Vanilla soymilk
1/2 cup agave syrup
2 teaspoons vanilla extract (use 1 tablespoon if using non-vanilla soymilk)
My pretty red ice cream maker...not much bigger than a coffee maker!
Directions:
1. In a large bowl, combine all ingredients and stir until well combined.

2. Pour into your frozen ice cream bowl and freeze according to your ice cream maker's directions. It should be ready to eat in 15-20 minutes. It will be soft, so if you want harder ice cream, put in the freezer for at least 1 hour prior to enjoying.

Full fat coconut milk and Silk Very Vanilla soymilk.

Agave Syrup.

Adding the vanilla.

Churning process.


Finished product :-)